Tutorial - Styling the Alphabet Banner ITH Project.

This is a little step-by-step tutorial on how I styled the Alphabet Banner ITH Project.

Working with one eyelet at a time...
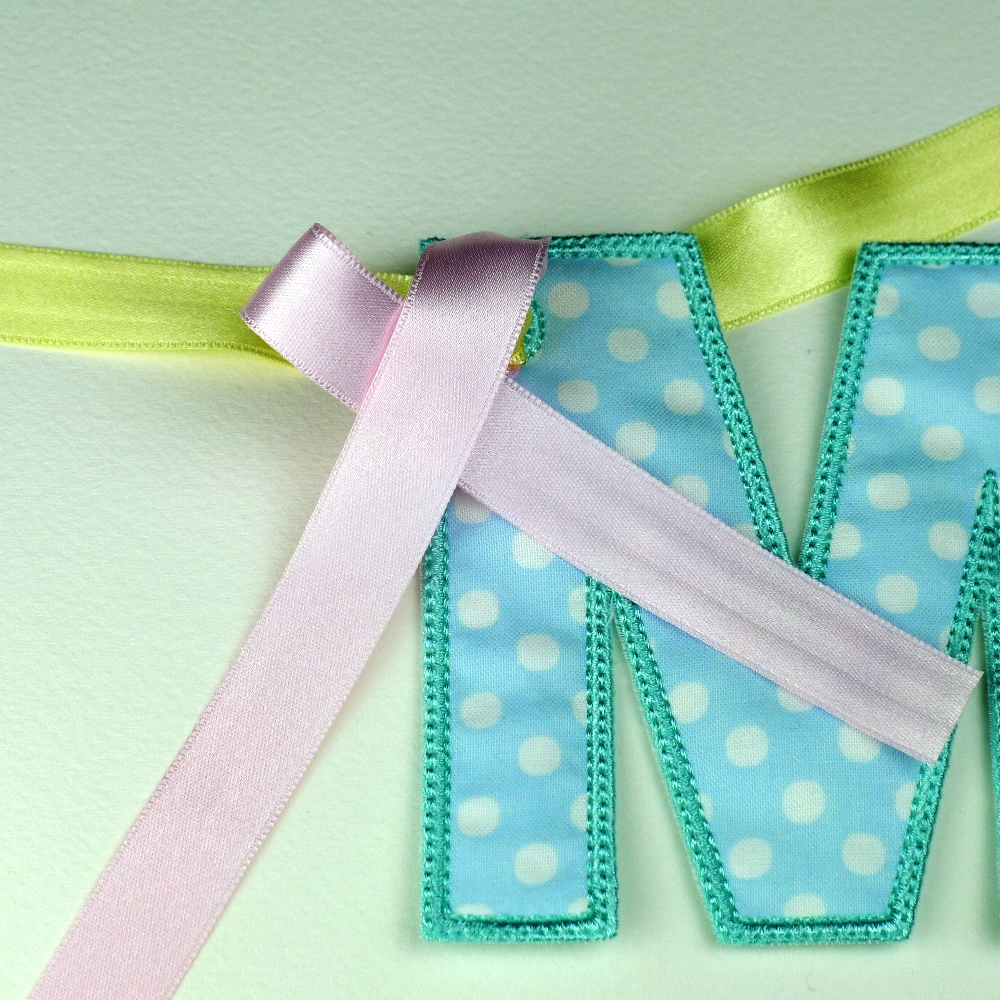
1.  Use something pointed (but not sharp) to push part of the length of hanging ribbon from the back to the front of the eyelet - pull through 1" of ribbon to create a loop.  Make sure this longer length of hanging ribbon stays untwisted and horizontal as you proceed with your banner.
2.  Take a 13" long piece of ribbon and place it vertically midway through the loop.  You may need more or less than 13" of ribbon - it all depends on how nimble your fingers are.
3.  Gently pull the horizontal piece of hanging ribbon so that the loop disappears and gently gathers the vertical piece of ribbon.  Don't pull too much or it will disappear into the eyelet and you will have to start again from step 2. 
4.  Take the bottom half of the ribbon and loop it over to the left with the tail to the right.
5.  Take the top half of the ribbon and bend the tail over to the bottom left corner while pushing a loop of it through the middle and out to the right hand side.  Now you should have a loose bow.
6.  Spend a minute teasing the bow into the right size and shape by gently pulling and re-pulling the tails and loops until you are happy with the result.  
 7.  Repeat the steps for the other eyelets along your banner....


8. Trim your tails. ...I recommend you do the trimming after all of your banner pieces and bows are made.


This method is just one of the many ways you can style your own beautiful banners. I'd love to know your styling methods too!

Have fun!


1 comment:

  1. Hi Kate,
    Thank you for the tutorial on banner bow making! That is super easy and looks great. Can't wait to give it a try!
    Tina

    ReplyDelete

Related Posts Plugin for WordPress, Blogger...