Here's a versatile set of files you will have a lot of fun with!
 Choose your fabrics and threads and you will soon be creating fun personalized banners for every occasion and for fun home decor too. The hardest part is deciding which colors to use!
The set comprises of uppercase letters and numbers (and an ampersand too) in 3 sizes 4", 5" and 6".
 You will be delighted at how quick and easy it is to make this two-sided banner all done in the hoop with step-by-step instructions to guide you. You are hooping stabilizer only, appliqueing your fabric over the top, applying backing fabric behind your hoop, finishing the edges and eyelets and cutting away the stabilizer.

3 sizes - 4", 5" and 6"
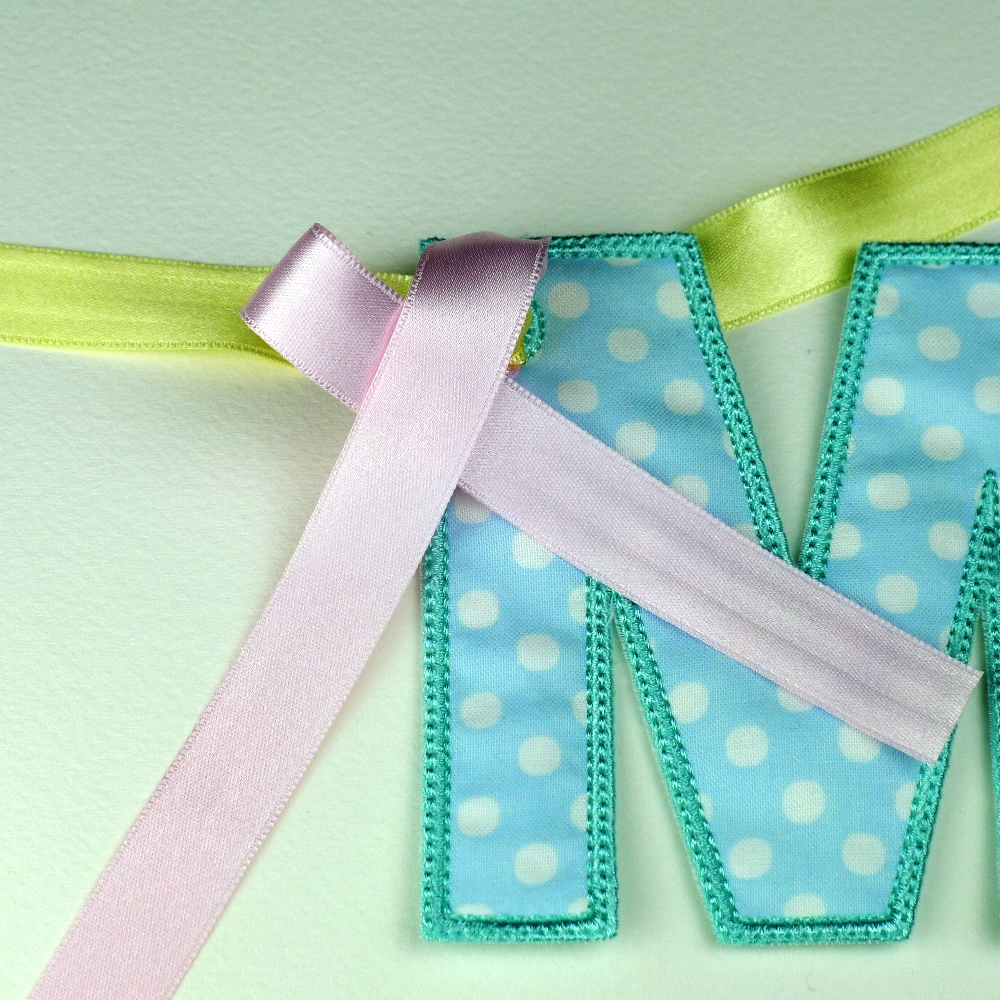
PICTURED is the 4" size.
Exact sizes:4x4 hoop - 3.93" high. Width varies to 3.93"5x7 hoop - 5" high. Width varies to 5"6x10 hoop - 6" high. Width varies to 6"
WHAT YOU RECEIVE:
- ALPHABET BANNER ITH Project in the hoop in the format of your choice.- Easy to follow Step-by-Step instructions – simply cut as you sew!
 - Easy to follow Assembly instructions!"
Happy embroidering!